
Help Center > Real Estate Reviews > How to Select Your Real Estate Review MLS Area
How to Select Your Real Estate Review MLS Area
Every MLS saves data differently so when it comes to uploading your file you will need to tell the software your specific MLS. For most cases that is done on the Select Your MLS step for the Real Estate Review. The only time it wouldn’t would be if you’re using Multiple MLS files or areas. For instructions on how to use those settings check out the System Settings guide pages.

To tell your software which MLS you’re using, you’ll need to open your Real Estate Review report and go the Select Your MLS step.
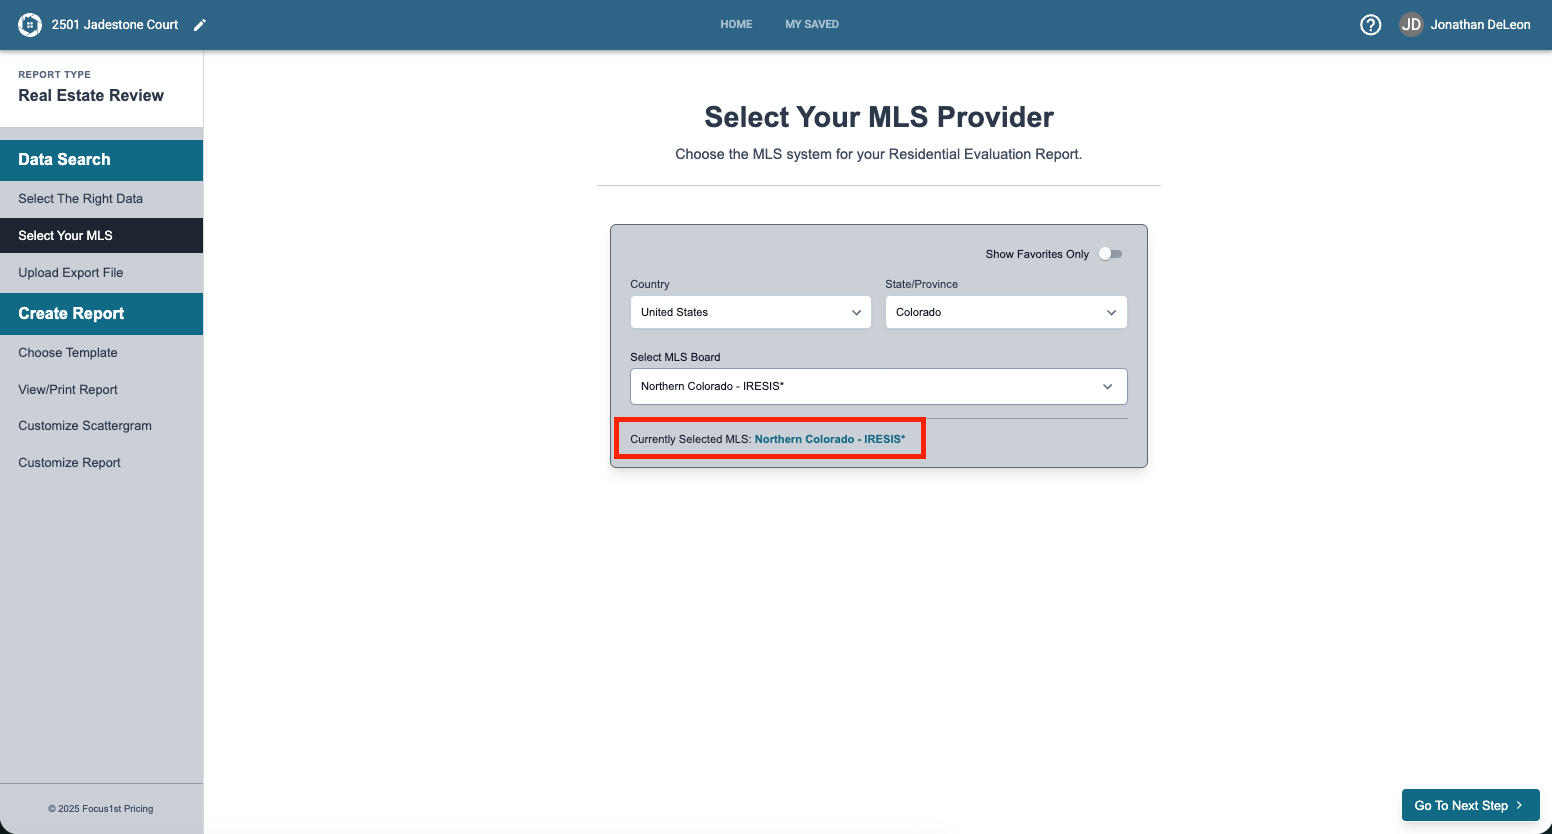
Here you will find drop down options that will let you select your Country, State/Province and the MLS board.

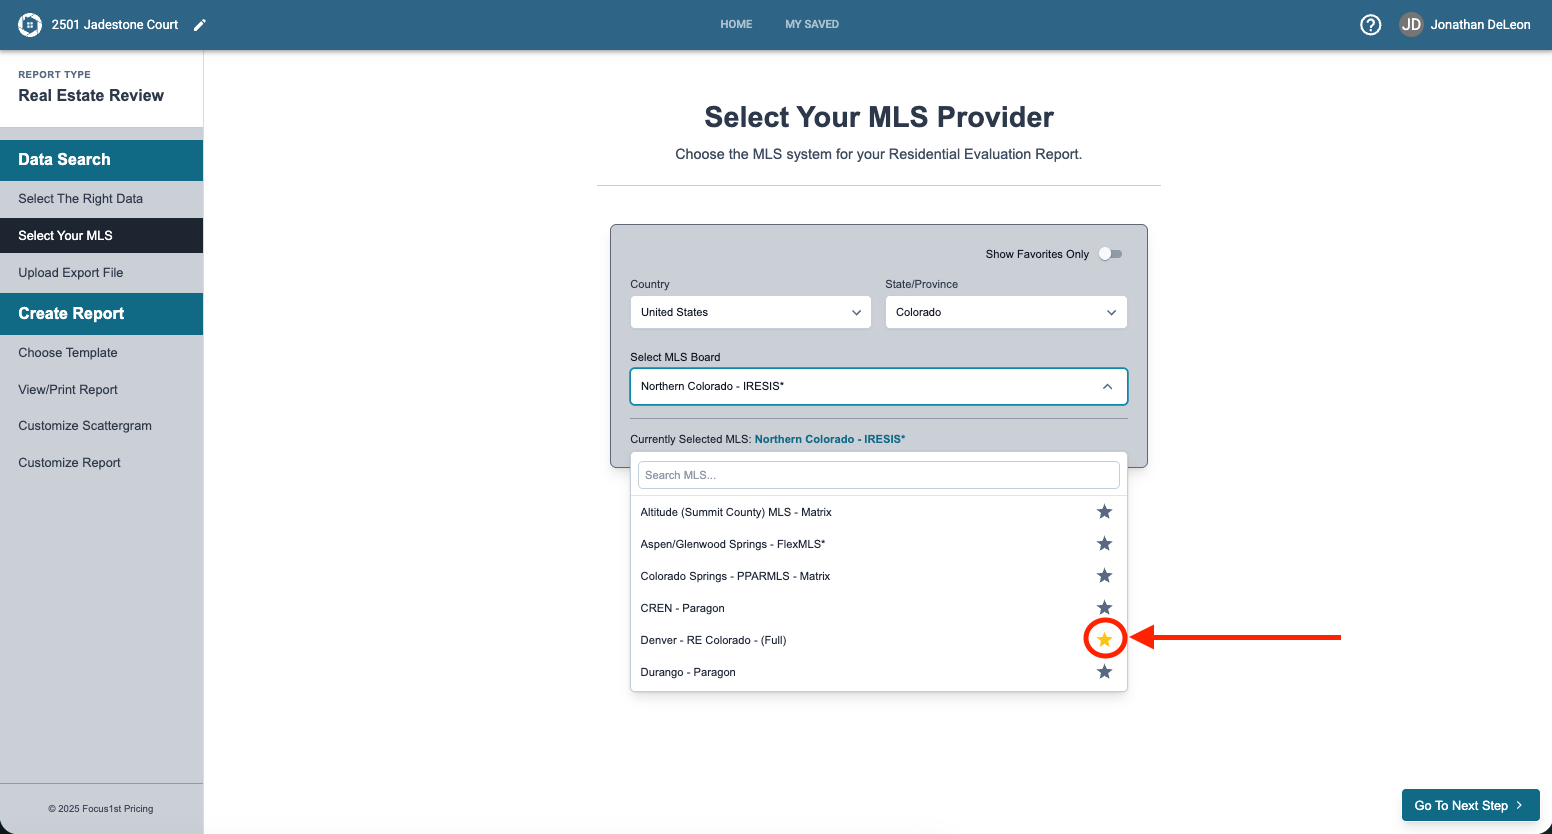
Select your Country and State first. Then in the dropdown for MLS Board you can scroll or use the search function to find your MLS.
Click the text of your MLS to select it.

If you’ve selected it correctly you’ll see it shown as the Currently Selected MLS at the bottom of the window.
This choice will stay as your choice until you change it. If you have a few MLS that you access regularly we recommend using the Favorite option to create a custom list of your MLS areas. To do this click the star next to the MLS name.
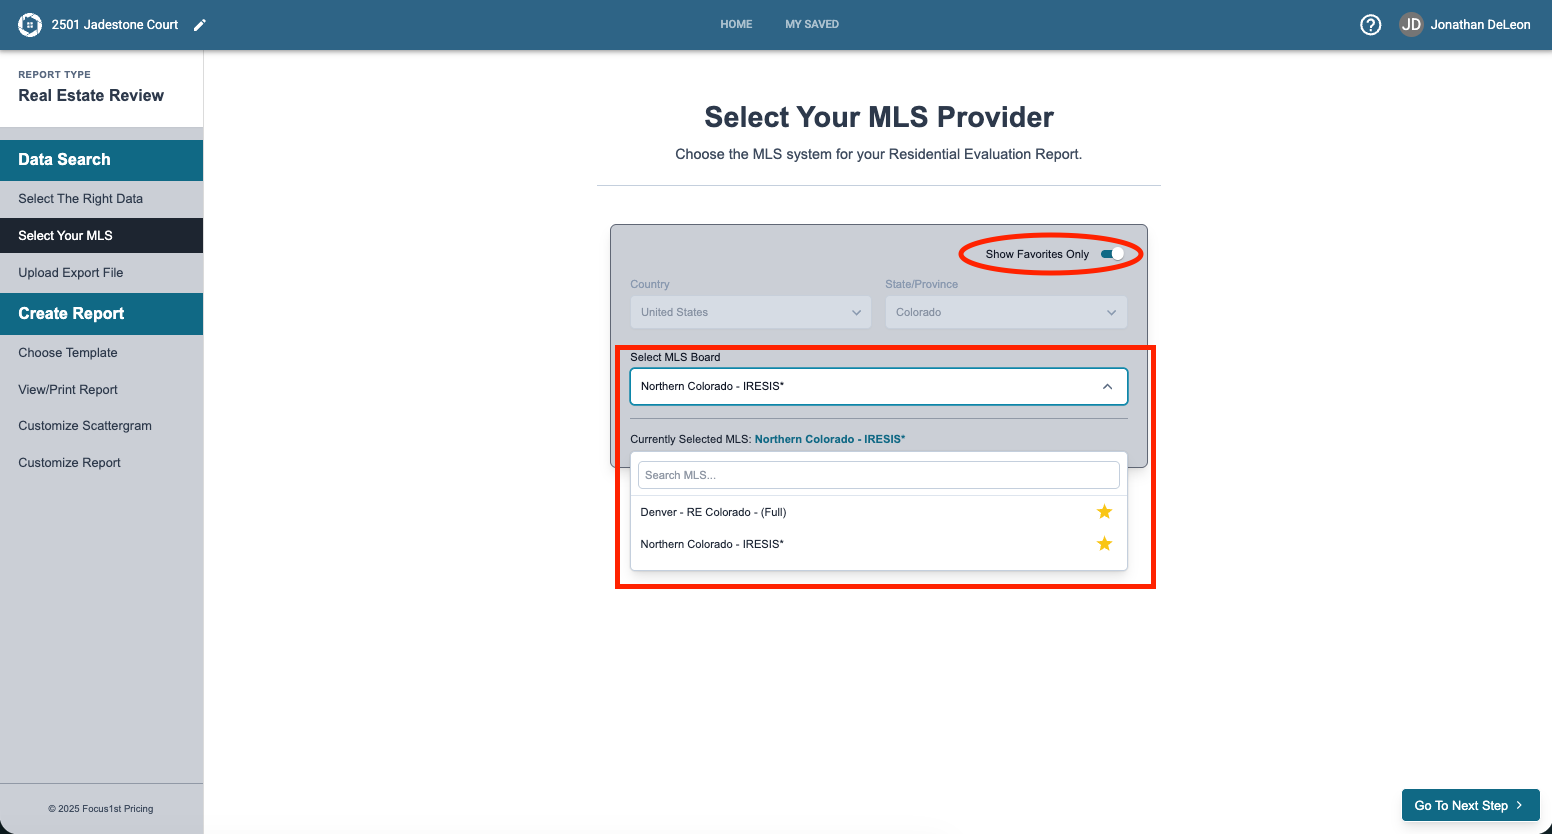
Then by clicking the toggle of Show Favorites Only to the on position will gray out the Country and State/Province dropdown menus and have simpler list of just your favorite MLS areas to choose from in the Select MLS Board Window.
Open Report
Select Your MLS Function
Favorite Option